Through an unusual set of circumstances I've been very
fortunate to have a dual Cruis'n USA set up in my basement. A few
months back my friend Wayne Whitney scored the really neat Deluxe
Header on Ebay. He realized it was too big for his basement and passed
the deal on to me as seen. My friend Tom Wisnionski really wanted a
set up of his own in a bad/good way! ;-) Wayne and Tom talked me into
going to the first Indy auction I'd been to in many years where Tom's
main goal was to look for some Cruis'ns. I thought
auctions were a waste of time way back and they haven't improved...
Typical prices on a single Cruis'n were around $3000! so I said the
fateful words... "Why don't we build some???" Tom and I are both
pretty good with tools and just about all the pieces are still
available and logic boards are difficult but not impossible to find...
Sounds like a fun project that shouldn't be too hard right???? ;-)
Before I get into our little project I do have take this opportunity
to show the picture that made that whole auction worthwhile. Somehow
I managed to talk Mark Jenison into piloting the BS1!!! Seeing as Mark
is always after me to do some web page stuff I figured this was the
perfect opportunity for him to find out what a dangerous thing all this
web stuff can be my hands!!! ;-) ;-)
On to the Cruis'n project!
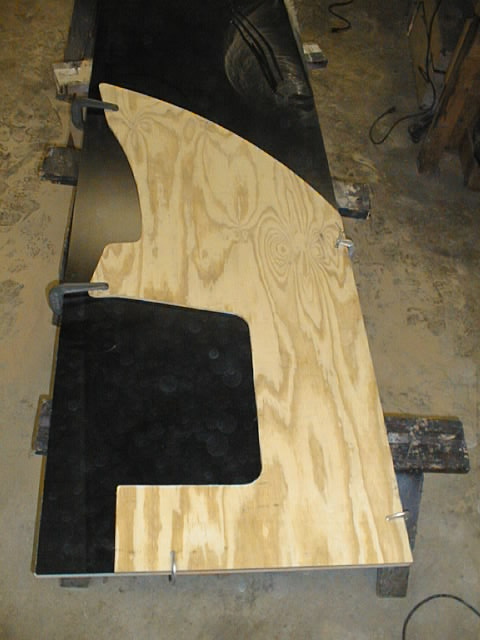
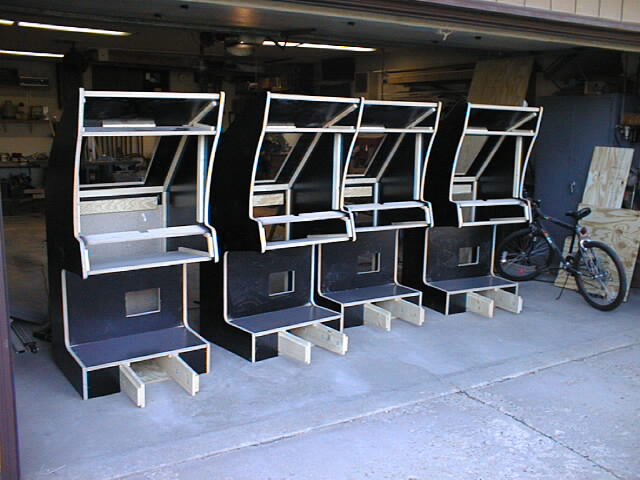
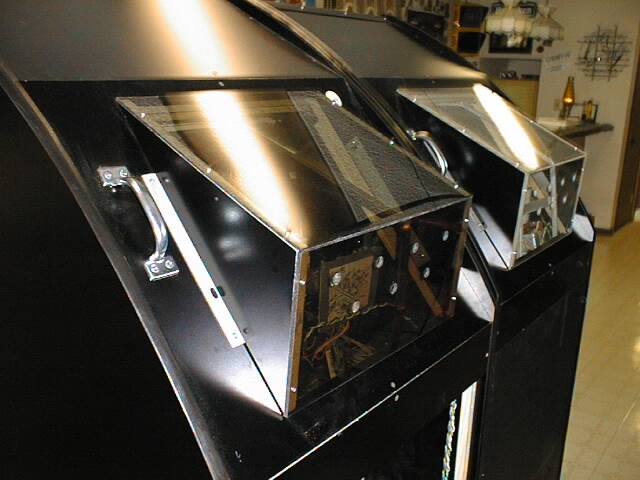
Tom had some great ideas on what materials to use and how to duplicate
the curved pieces for the cabinet sides and seat pedestal sides. The
material is called "Melamine". It's kind of a plastic coated particle
board. It's available in white at the local Builder's Square type
places but
with some research Tom found a local place where you could order it in
black. Using this material provided a real professional looking finish
without having to deal with any painting at all!
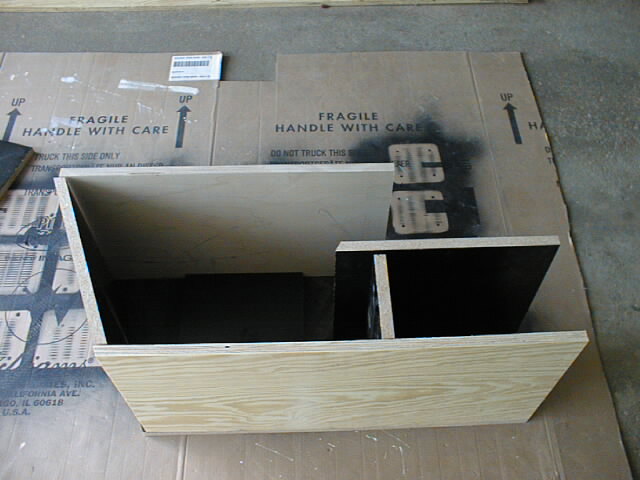
First we had to make a template out of plywood as seen and clamp it
down.
For the actually cutting Tom brandished his 3 HP router!!! which was
fitted with a carbide bit and a special piece that allowed the router
to follow the template without destroying the template.
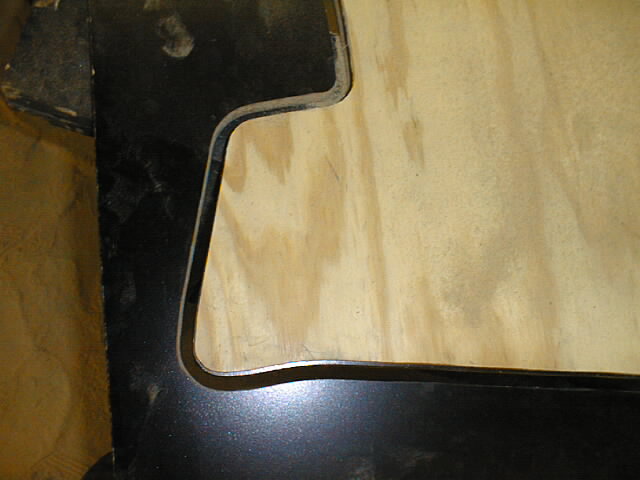
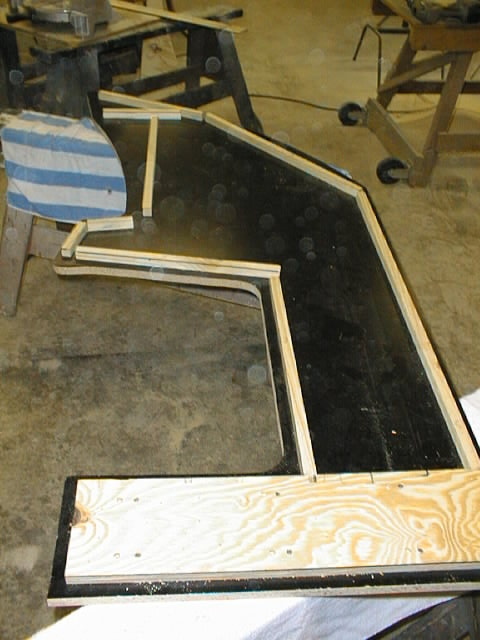
Talk about serious dust!!! but it worked out nicely!!!
As you can see once we got rolling we decided to get into some mass
production while things were all set up. The initial goal was for 3
cabinets but we increased that to 4.
Here's Tom getting ready to make the sides needed for the seat
pedestals.
And again some more mass production. This was the end of the cutting
that involved the router.
The next step was to layout and attach the inner pieces that would hold
everything together. Getting these in just the right place was a critical
step and this first one took lots of measuring and was used to lay out the
rest. We used a pneumatic nailer a great deal on this project and I couldn't
imagine doing the job without one. If you do any serious cabinet construction
or even repairs it's a must. We also used some Liquid Nails construction
adhesive at each joint but it really didn't stick all that well to the slick
plastic surface of the Melamine.
Here's a shot of some of the first assembling. We did the construction
in my garage and we just about wore a path between the garage and the basement
where my existing games are kept taking measurement after measurement to
make sure everything was right. Surprisingly, we made almost no serious
mistakes.
Like I said MASS PRODUCTION!!! :-) Quite a site! We were starting to feel like
Lenc/Smith/Wisnionski & Schieve by this point! Lenc/Smith is the
company that built the original cabinets for those that don't know.
Now on to the seat pedestals. What you see is the inner pieces just
temporarily in place to make sure everything fit.
Here are the pedestal pieces laid out before the final assembly. We
had to be careful with the order of assembly to make sure we could get
the nailer inside when putting things together. By nailing from the
inside we were able to have almost no exposed screws for nails on the
outside of the main cabinet or pedestal.
Some more mass production. I think we determined that between the 2
of use we had some like 80 hours invested in our "little" project so
far. At this point we were pretty much done with
the wood cutting phase and Tom took his two cabinets home and I
continued with my two.
These are my completed seat pedestals. There is a fair amount of
work here not shown working out the seat mounting with slides.
The seats are not the correct ones for Cruis'n but as the correct ones
cost twice as much as these from Happ I figured the people playing
would just have to live with them! ;-)
One of the few pieces not standard Happ that would be difficult to make
was the blank dash panel. Fortunately these were still available from
Williams though of course pricey. One the right is a blank panel and
on the left is one that I wired up.
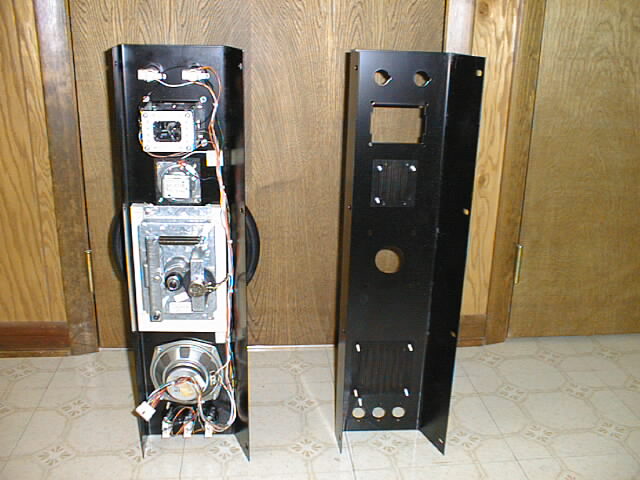
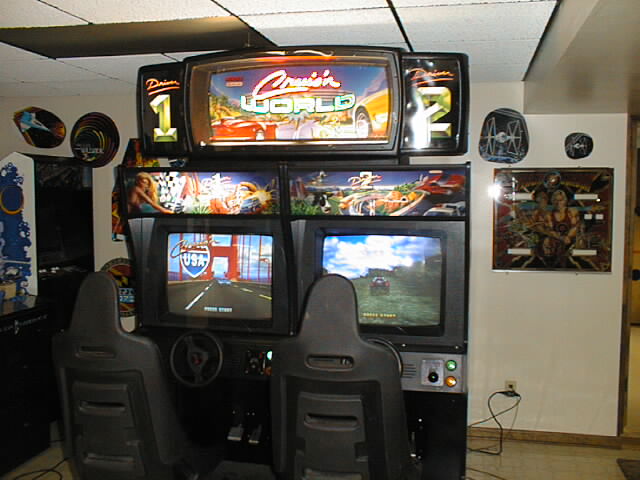
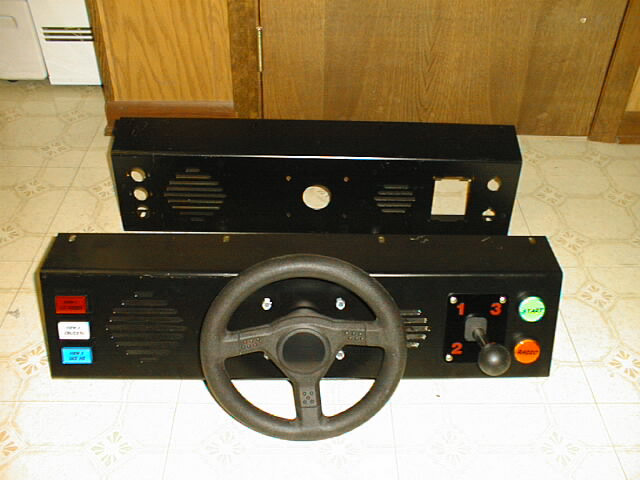
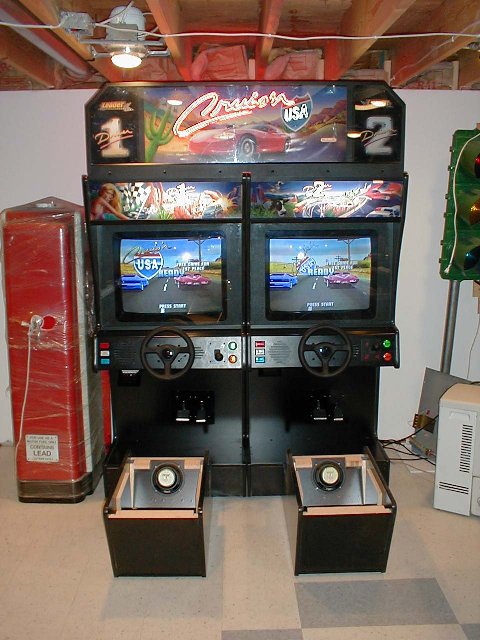
Standard sitdown Cruis'n USA has force feedback steering while the
upright cabinets were cost reduced a bit only having spring centered
steering wheels. We decided feedback wheels weren't worth the
additional expense and just used the spring centered wheels. On the
left is a control panel I assembled using a standard Happ spring
centered wheel, shifter and buttons.
Here's a front view showing all the pretty buttons! :-) More standard
Happ stuff.
On to the wiring! The logic board is mounted with wiring going off to
the control panel. You can see the back side of the gas/brake pedal
assembly. Cruis'n is standard JAMMA with quite a few additional
connections.
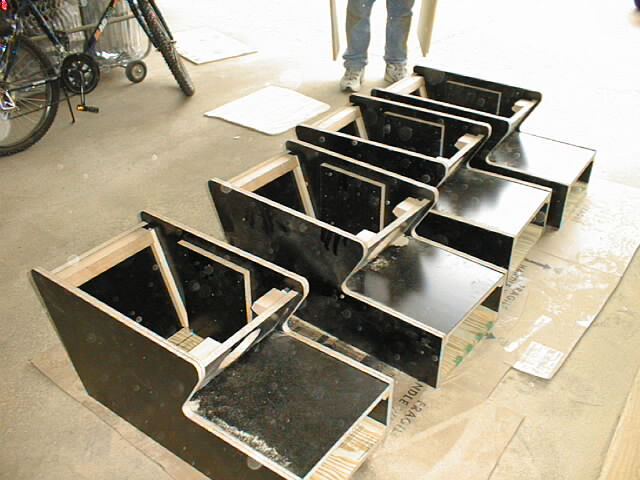
By this point I'd lost track of how many hours I'd put into the
"little" project...
This is looking farther down into the cabinet where you can see the
power supply, isolation transformer, and power line filter. There is
also an additional transformer needed for some AC used by the sound
section.
Cruis'n cabinets had a molded plastic cover on the back side to cover
where the monitor sticks out. I built my version out of scrap plexi
though I later replaced the top piece with a vented metal piece for
more air flow.
There were a few sheet metal pieces that were needed as seen at the top
and bottom of the Marquee seen in this picture. Fortunately, I was
able to get some help from someone with access to the right tools and
it only cost me a box of donuts!
OK!! So here's Tom's dual!!! The seats are done now too but I'm
waiting on a more current picture. He got the Deluxe Linking Header
from a local operator. As Cruis'n are being moved out of the more
serious arcade type locations and into smaller street locations a lot
of operators are turning the duals back into singles. It says a lot
for our clone Cruis'ns that the Deluxe Header fit with no problem.
So now we are down to the end. I know there are quite a few details
left out but one of the larger ones that may have occured to you is
what the heck would I want with 2 Cruis'n cabinets when I already had
2???